Building Ryzom
This guide covers obtaining, building, configuring and deploying a Ryzom development shard onto a LAN server.

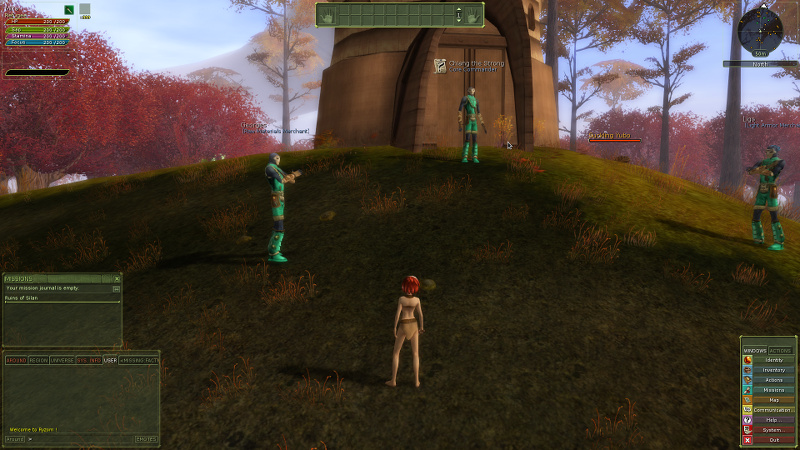
Ryzomcore In Game
You will need access to a Windows 7 installation for the build pipeline as well as a Linux machine. Whilst the server can be deployed locally on the Linux machine, I’d recommend using a VM for the services and web site.
The server VM should use the FQDN of ep1.mini01.mups.co.uk. Whilst you should change “mups.co.uk” to your own domain name, it’s advisable to retain the “ep1.mini01” part and it’s important that the hostname matches the entries used later in the configuration process.
If you do not have an internal DNS server, edit the hosts file on each machine so that ep1.mini01.mups.co.uk resolves to the correct LAN IP.
I used Windows 7 and Debian Jessie 8.2 as well as the following asset versions and code commit hashes.
- ryzomcore revision 4b58e3b0acbe
- ryzomcore-data revision 83:1c6a7cac1fe7
- Kervala’s Packaging revision 774:c92e33ee927c
- Kervala’s CMake revision 207:e8d63337232a
- Ryzomcore Assets cc by-sa3
- Ryzomcore Assets pre-built cc by-sa3
Alternatively you can use the original ryzomcore repo.
- ryzomcore-data revision 83:1c6a7cac1fe7
- ryzomcore revision 6990:b40202cfcc2d
Whilst subsequent commits have fixed a number of issues mentioned in this guide, for an initial setup I recommend you use the exact commits listed above. This will ensure you do not run into new issues that later commits may introduce before you have a complete picture of how everything fits together and a better chance of dealing with any problems that do arise.
Note: This guide does not cover modifying data or building any tools beyond those needed to partially update the pre-exported client/server data. A future guide may cover the 3ds plug-in and additional ryzom tools. Should you choose to configure 3DS and wish to build all assets from source, you can skip the two rev4 asset 7z files and obtain up to date assets instead from the ryzomcore-assets repository.
Setup
- Building Linux Client & Server
- Building Windows Client/Tools
- Building Data
- Configuring Server
- Deployment/Patchman
- Running the Server
- Testing the Client
Links
Whilst this guide brings together a complete process for building and deploying a test shard, it was not made in isolation. The following sites provided valuable reference material as I worked through the process. I also received assistance from members of the #ryzom IRC channel on Freenode.
